Reversing.kr - Replace
1. Context
This is the third post of my reversing series following the previous posts about Reversing.kr.
This time, I’ll be working on the next challenge, Replace. I got 0 context from this name, so I actually can’t guess the functionality of this executable before trying static analysis.
2. Replace
First, like always, let’s run and see what the executable does!
Ah, we see a similar prompt from Reversing.kr’s Easy Crack, so we must look out for DialogBoxParam calls when we throw it in IDA!
Seems like it’s taking in a flag, and when we click “Check”, the program will perform a check to see if our flag is correct. We must try and reverse this checking algorithm, so let’s begin with IDA!
We can easily found the DialogBoxParam call here at sub_401000. Again, it is executing the DialogFunc function, and this will be the focus of our analysis.
First things I notice is the GetDlgItemInt call, which takes our input from the dialog box and load it in dword_4084D0. Let’s rename dword_4084D0 as input_flag.
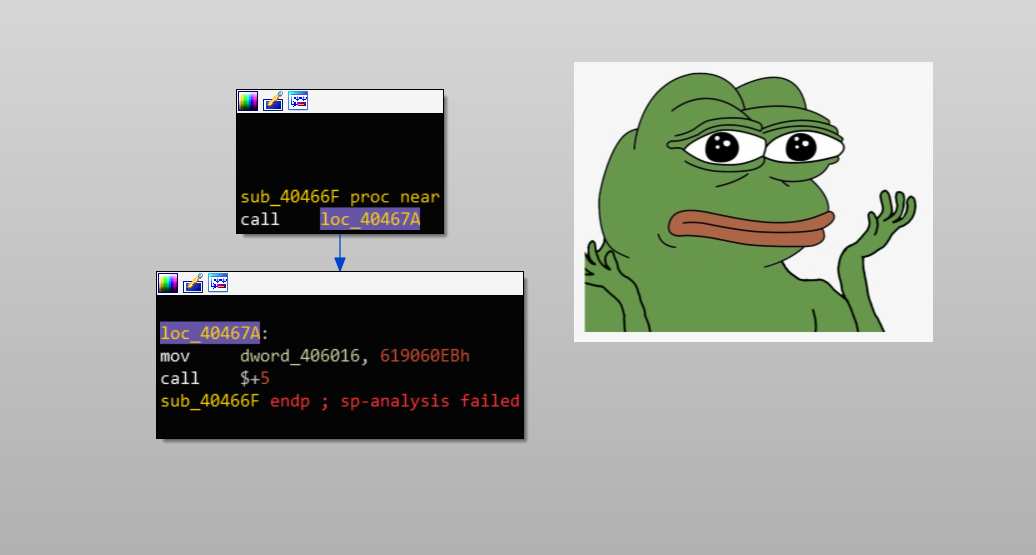
Next, we see a bunch of sub_40466F calls, and then the function just returns. This is weird because our target is right above loc_401084, but nothing leads to it so it can’t be executed.
When I see this, it’s clear that this executable can self-modify to change its own instruction based on our input_flag. Let’s look at the assembly code without the graph view.
Here, at 0x4046C4, we have a jmp loc_401071, and loc_401071 is right above our target code. If instead of being jmp short loc_401084 to jump pass our target code, loc_401071 can be change to 2 NOP instructions to skip to our target code!
We must analyze the sub_40466F calls to see where they will modify these instructions.

Alright, mission abort I guess. This is just raw x86 Assembly written by the author of this challenge instead of generated Assembly code. Ew ![]()
Our static analysis stops here mainly because we must run and debug this manually to see what is in memory and which instruction is being called.
So, let’s throw it into x64dbg and see how it goes.
First, we must have a breakpoint at 0x401060 because it is right after we have read the input into input_flag. Also, let’s give an input of 123456789 just because.
Here, we see that our input is stored in dword_4084D0, which is our input flag. Let’s keep track of this and see how the code modifies it.
Let’s step inside the next sub_40466F call.
We see that our input_flag is incremented by 2, and at 0x404674, input_flag is incremented by 0x601605C7. Let’s keep that in mind and move on.
So here, input_flag is incremented by 2 again, and pushed to the stack as the parameter for *sub_404689
Ah hah, so here, we are writing a NOP instruction into whatever eax is pointing to, which is input_flag + 2 + 0x601605C7 + 2. If we can get this value to be 0x401071, the instruction there will be overwritten into a NOP, and we will execute the Correct message.
Let’s do some quick math!
0x401071 = input_flag + 2 + 0x601605C7 + 2
However, notice that 0x601605C7 is greater than 0x401071, but we can’t input negative number for input_flag.
We don’t need to worry because math is completely different on computer because of something called OVERFLOW!!
Basically, eax register can only store at most 32 bits, so even if we try to write something that is greater than 32 bits, it will only contains the lower 32 bits of that number.
So, when we want eax to be 0x401071, we can write to it 0x100401071. Since, again, eax can only store the lower 32 bits, it will discard that 4 most significant bits.
Let’s have n be 1. So now our equation becomes
0x100401071 = input_flag + 2 + 0x601605C7 + 2
Solving for input_flag, we get 2687109798.
When we put this into the executable, we get the Correct message!!!
3. Recap
In this challenge, we learn how to avoid handwritten x86 Assembly code immediately and just let the debugger handles our job! Also, we learn about how numbers work inside the computer’s registers!!
